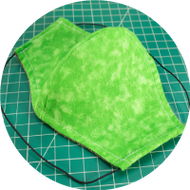
DIY Face Mask with Elastic Straps
Posted by Luke on Nov 20th 2020
If you found this tutorial because you purchased our elastic cord on Amazon, thank you for your purchase! If you are looking for cord, you can find a link in the supplies list below. If you prefer, you can also scroll down to the bottom of this page for a tutorial that uses coreless paracord for a comfortable tied closure.
For an Elastic strap mask, you will need:
- 100% quilting-quality cotton fabric
- Cotton flannel fabric
- 1/16” round elastic cord or Soft Flat Stretch-Knit Elastic
- Sewing machine with standard sewing supplies like pins and thread
- Scissors
- This pattern
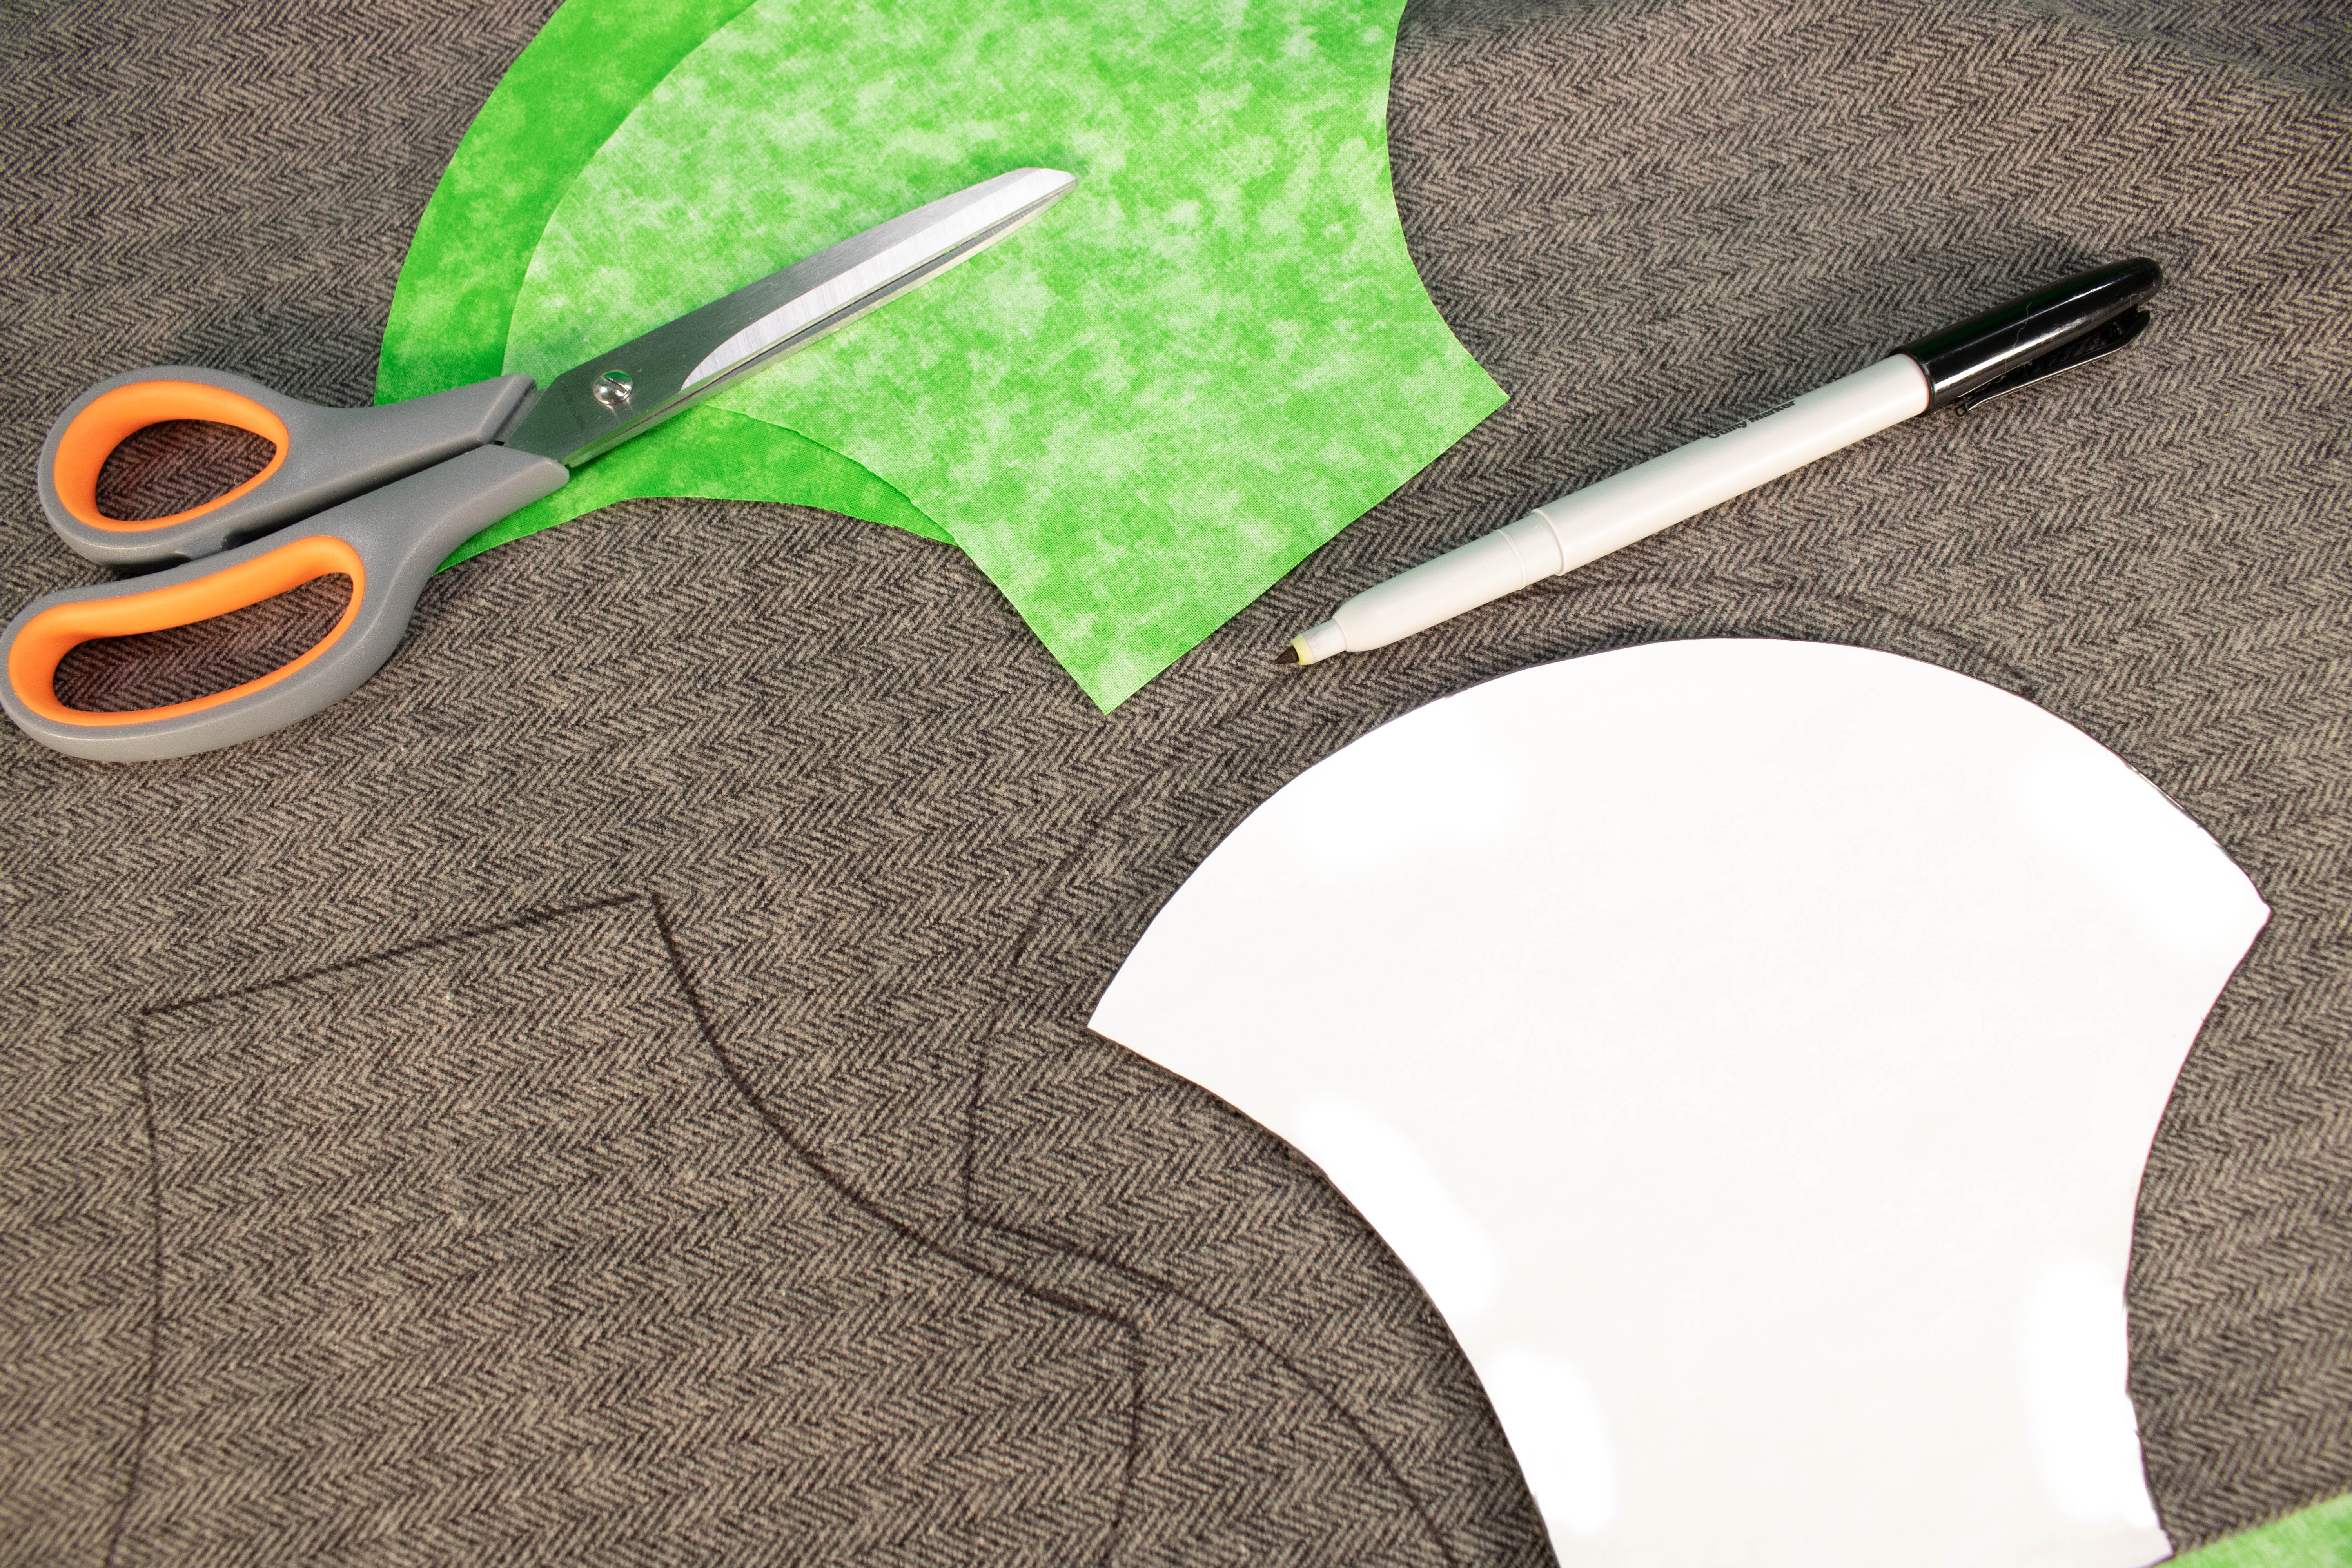
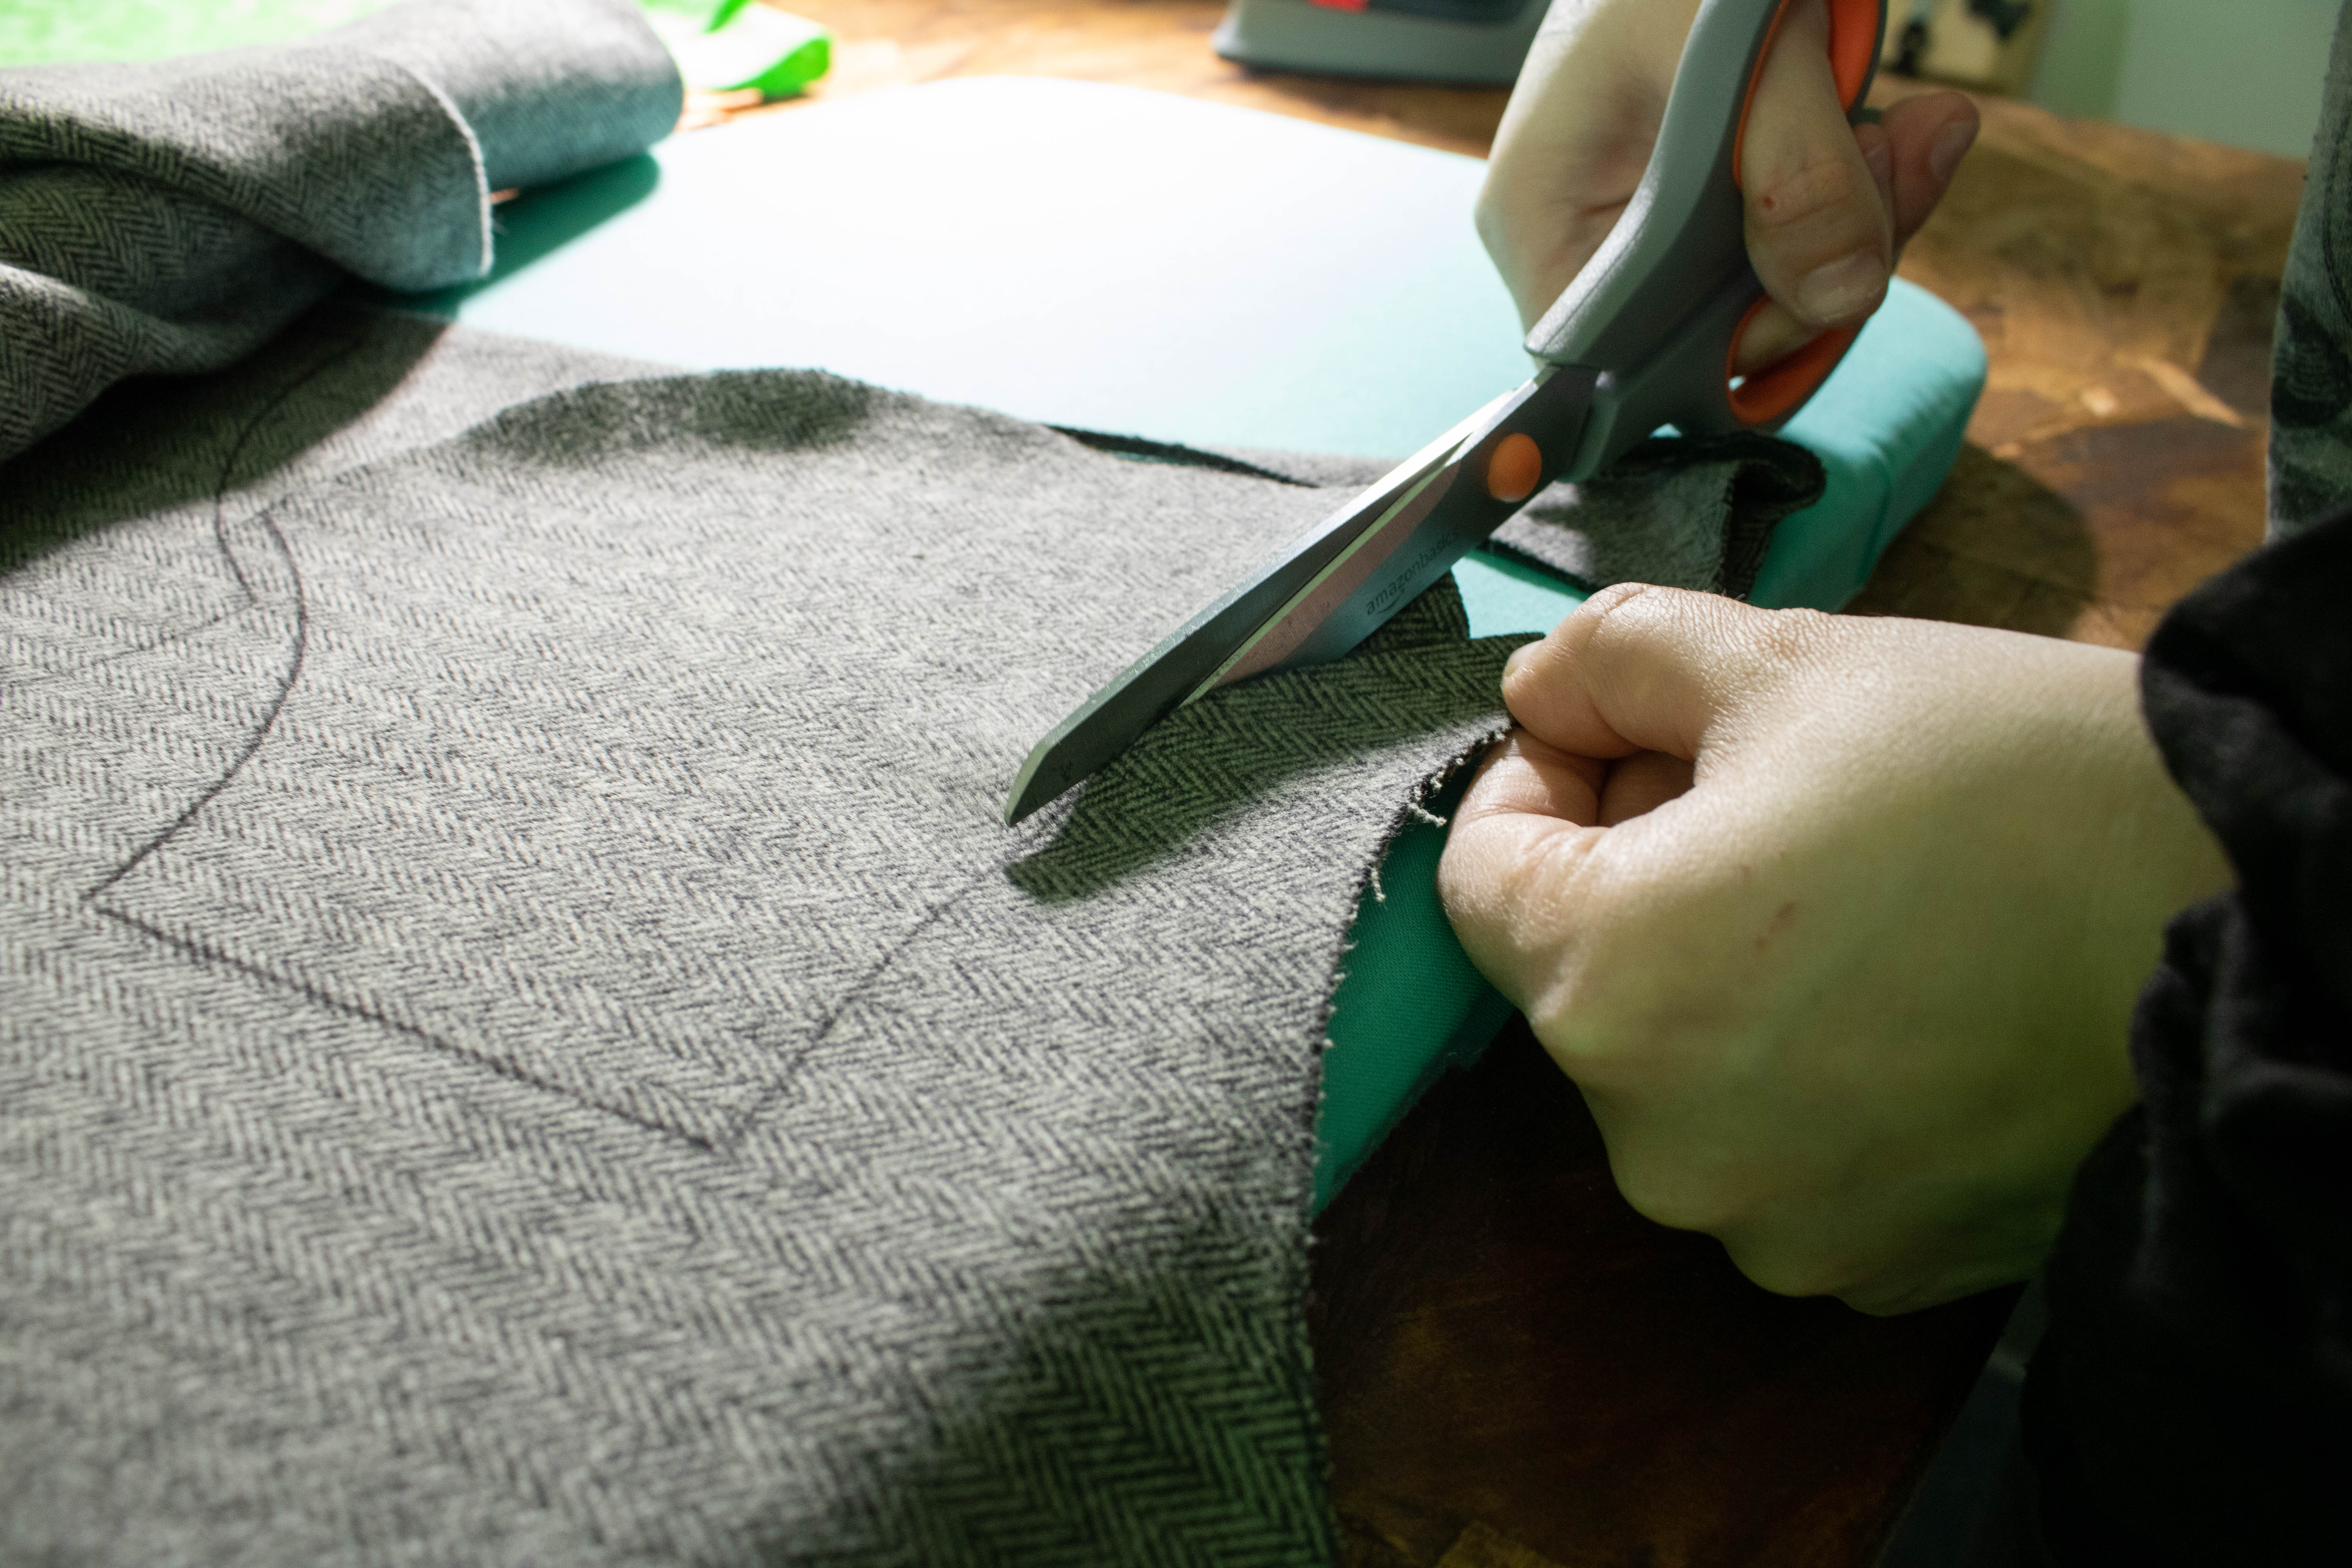
Begin by folding your fabric in half with the right sides facing in. Cut out the paper pattern and either pin or trace it onto your two-layer-thick fabric. Cut around the shape and leave your like pieces stacked together (You will be sewing them in the next step). You should have a total of 4 mask pieces when finished cutting.
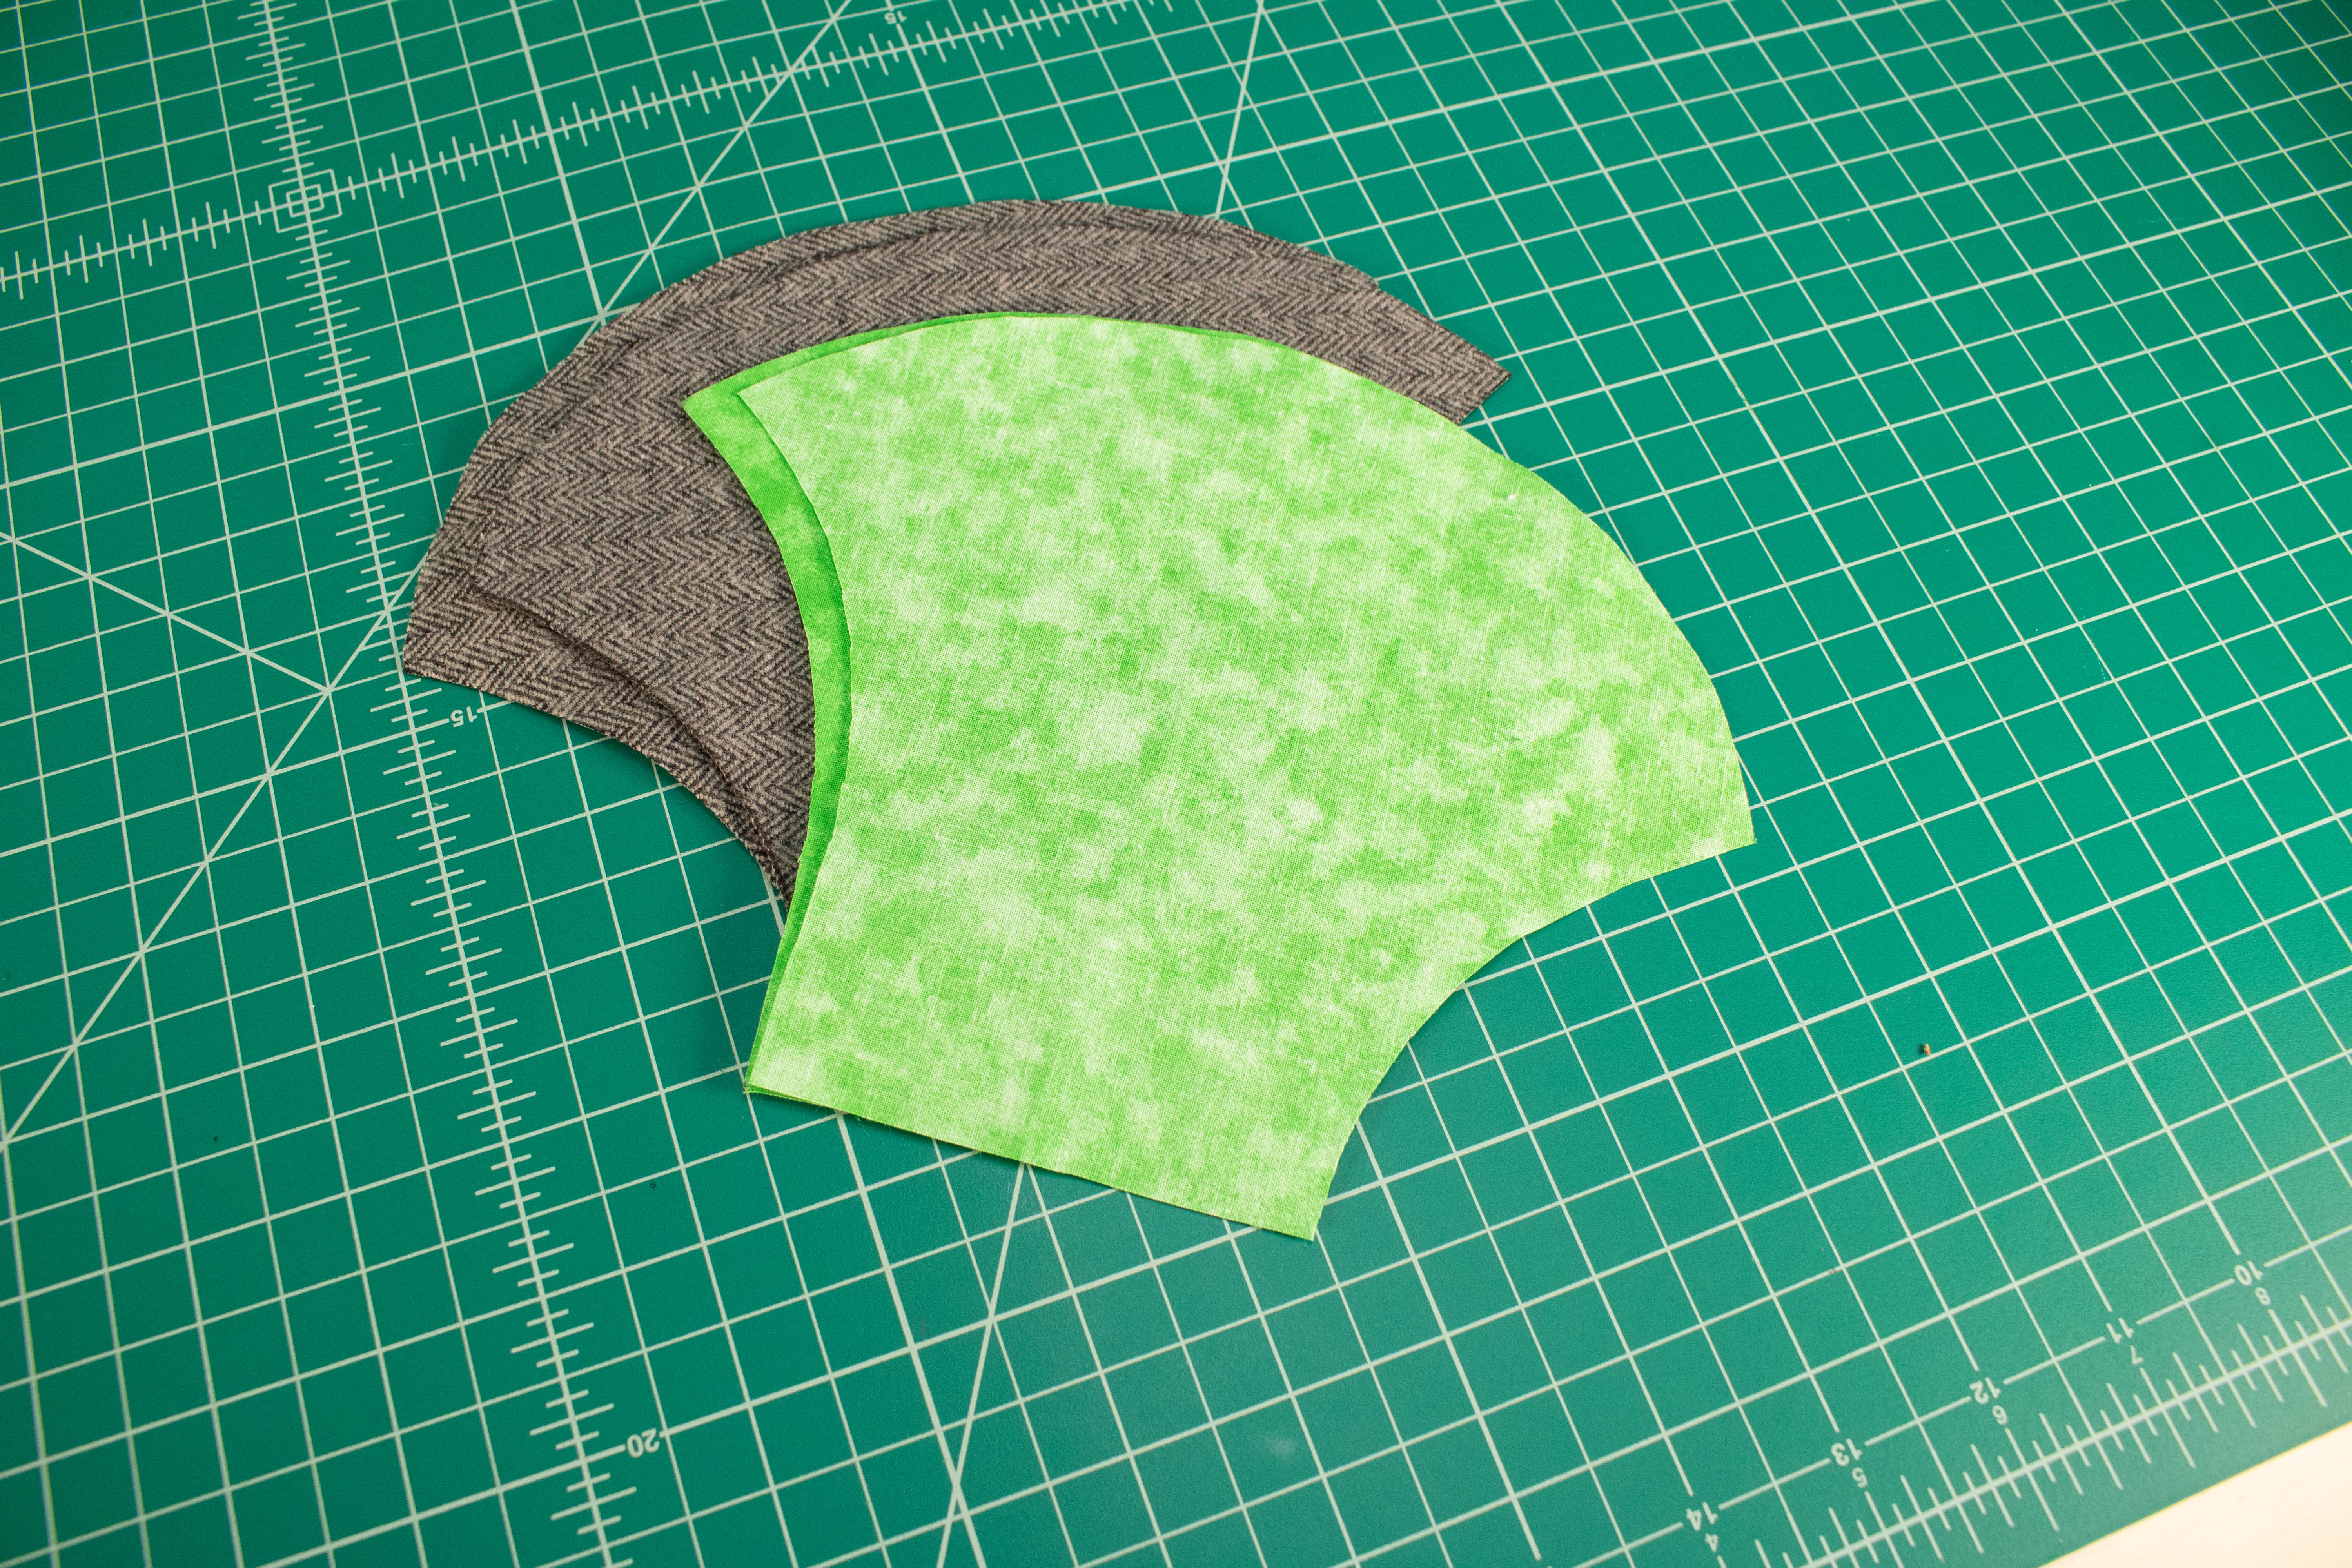
With the layers still stacked with right sides facing each other, take your two flannel pieces and sew around only the outer curved edge with a ¼” hem. Do the same with the cotton.
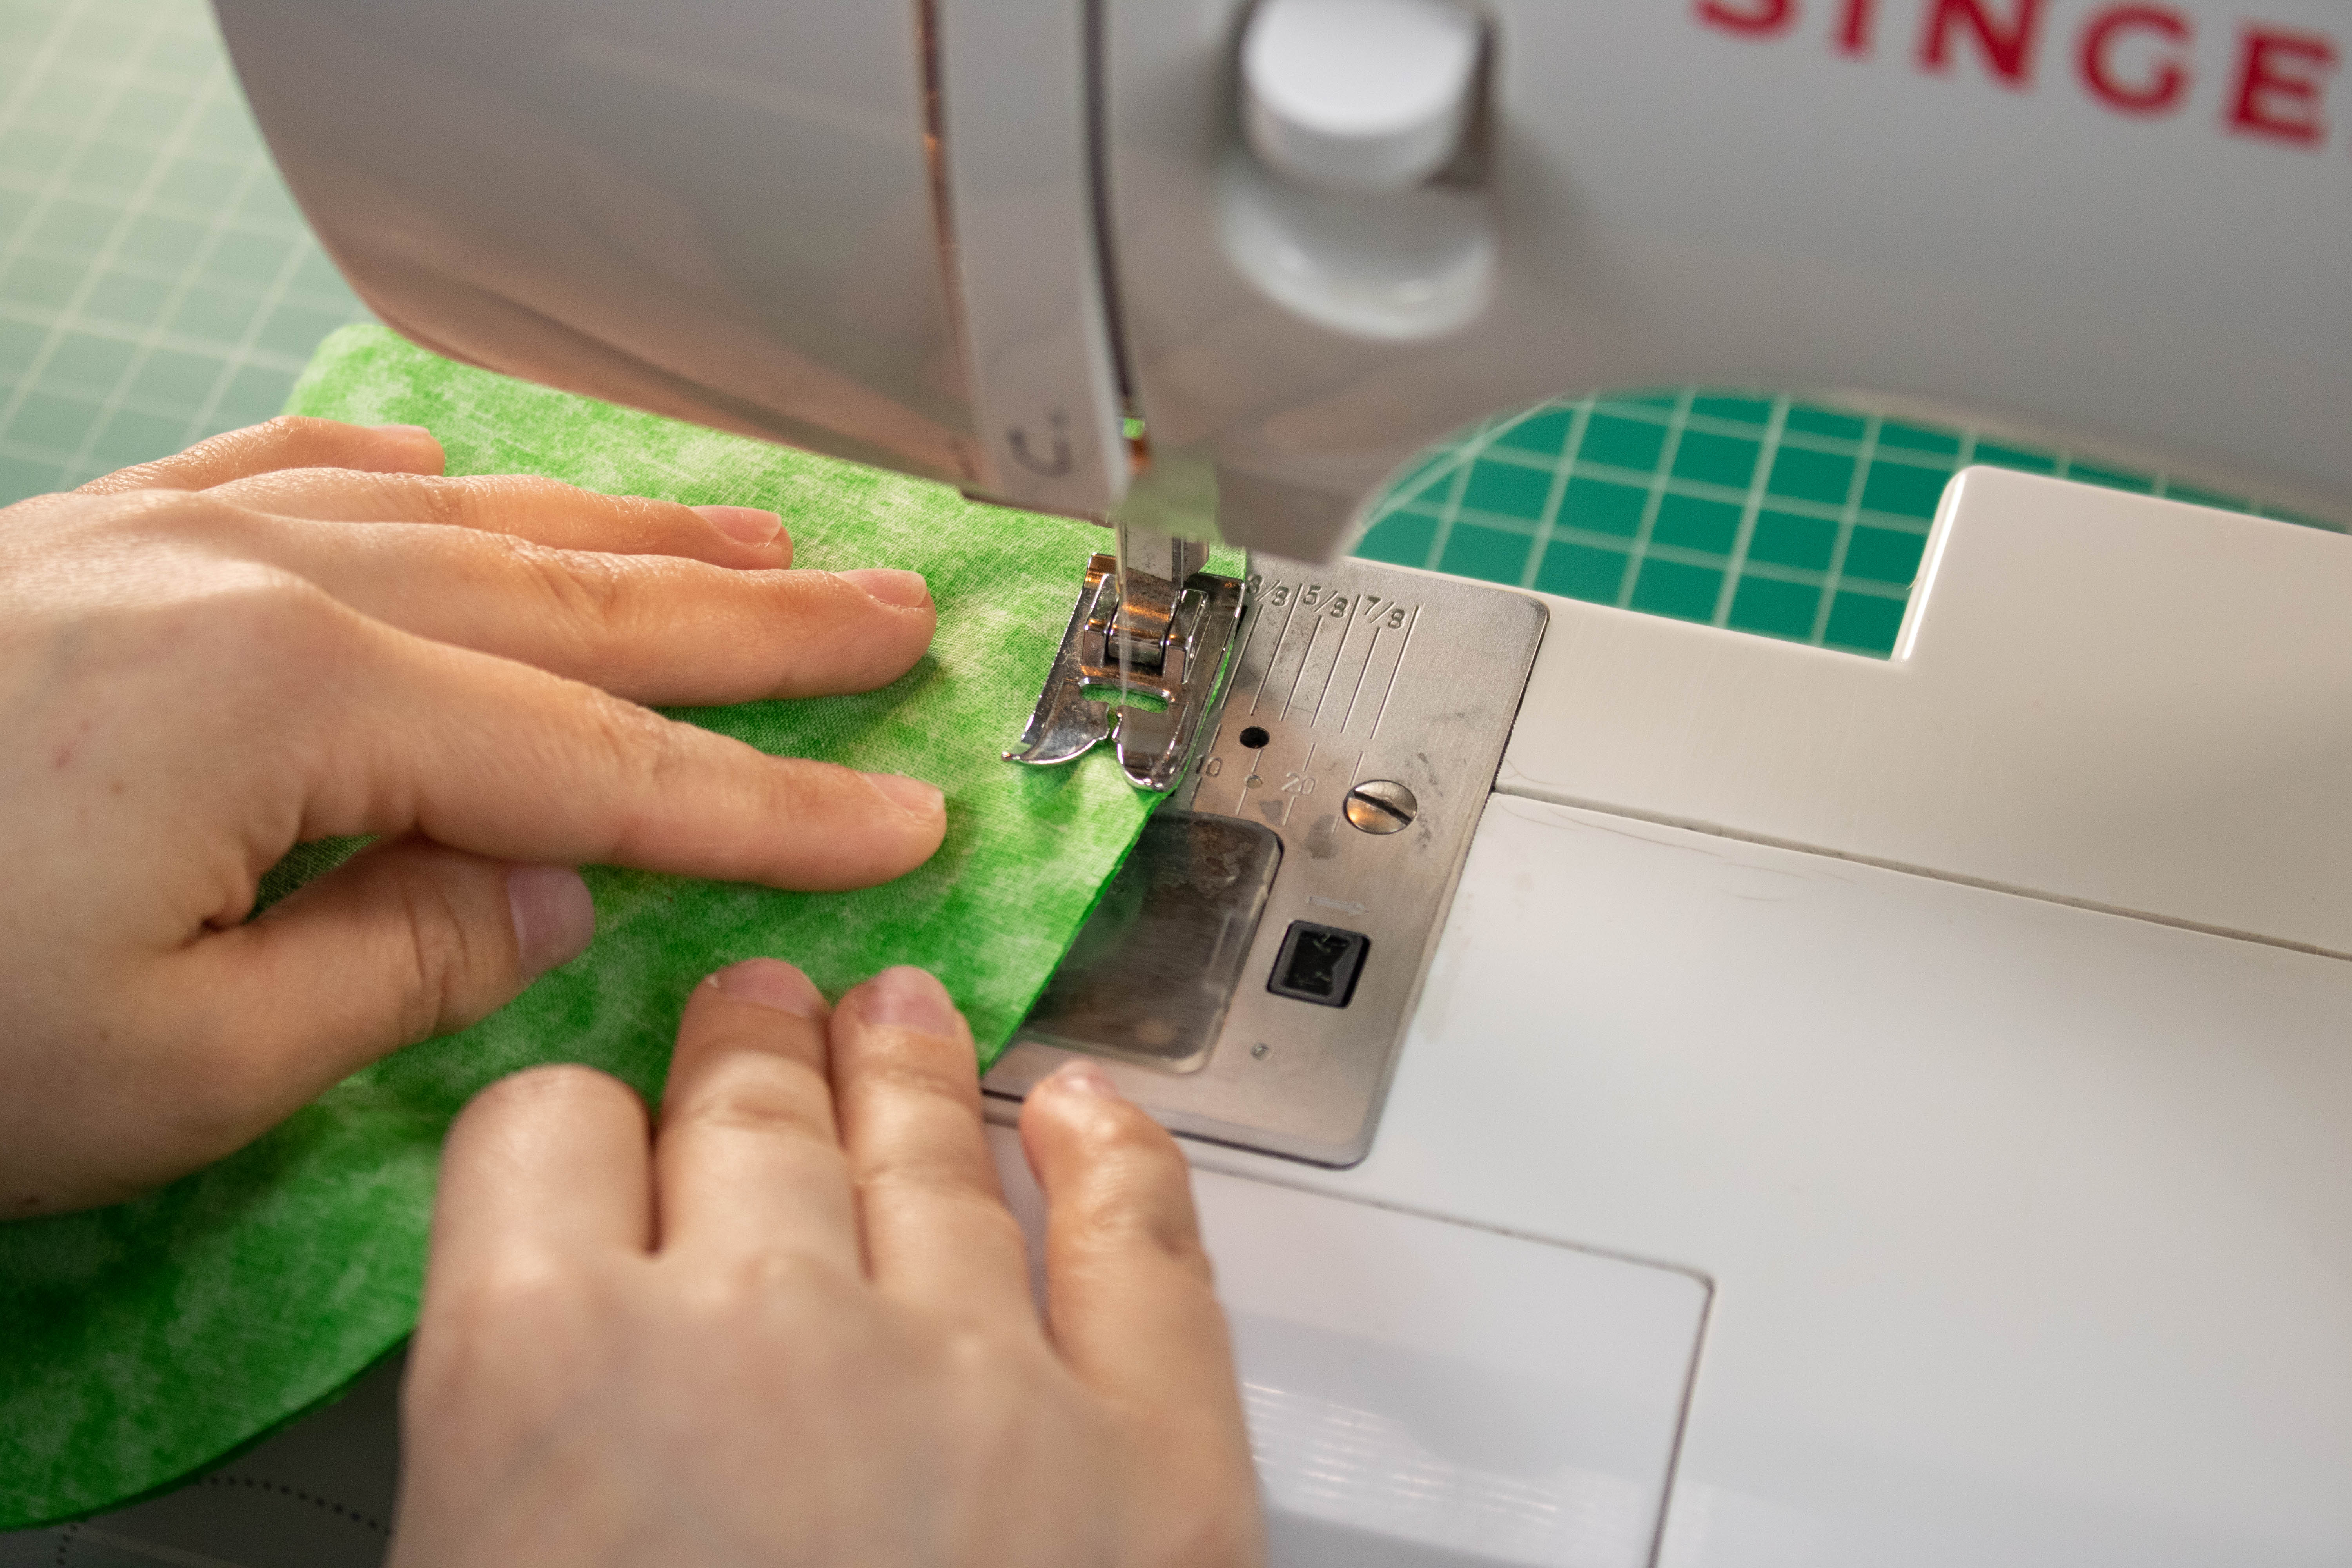
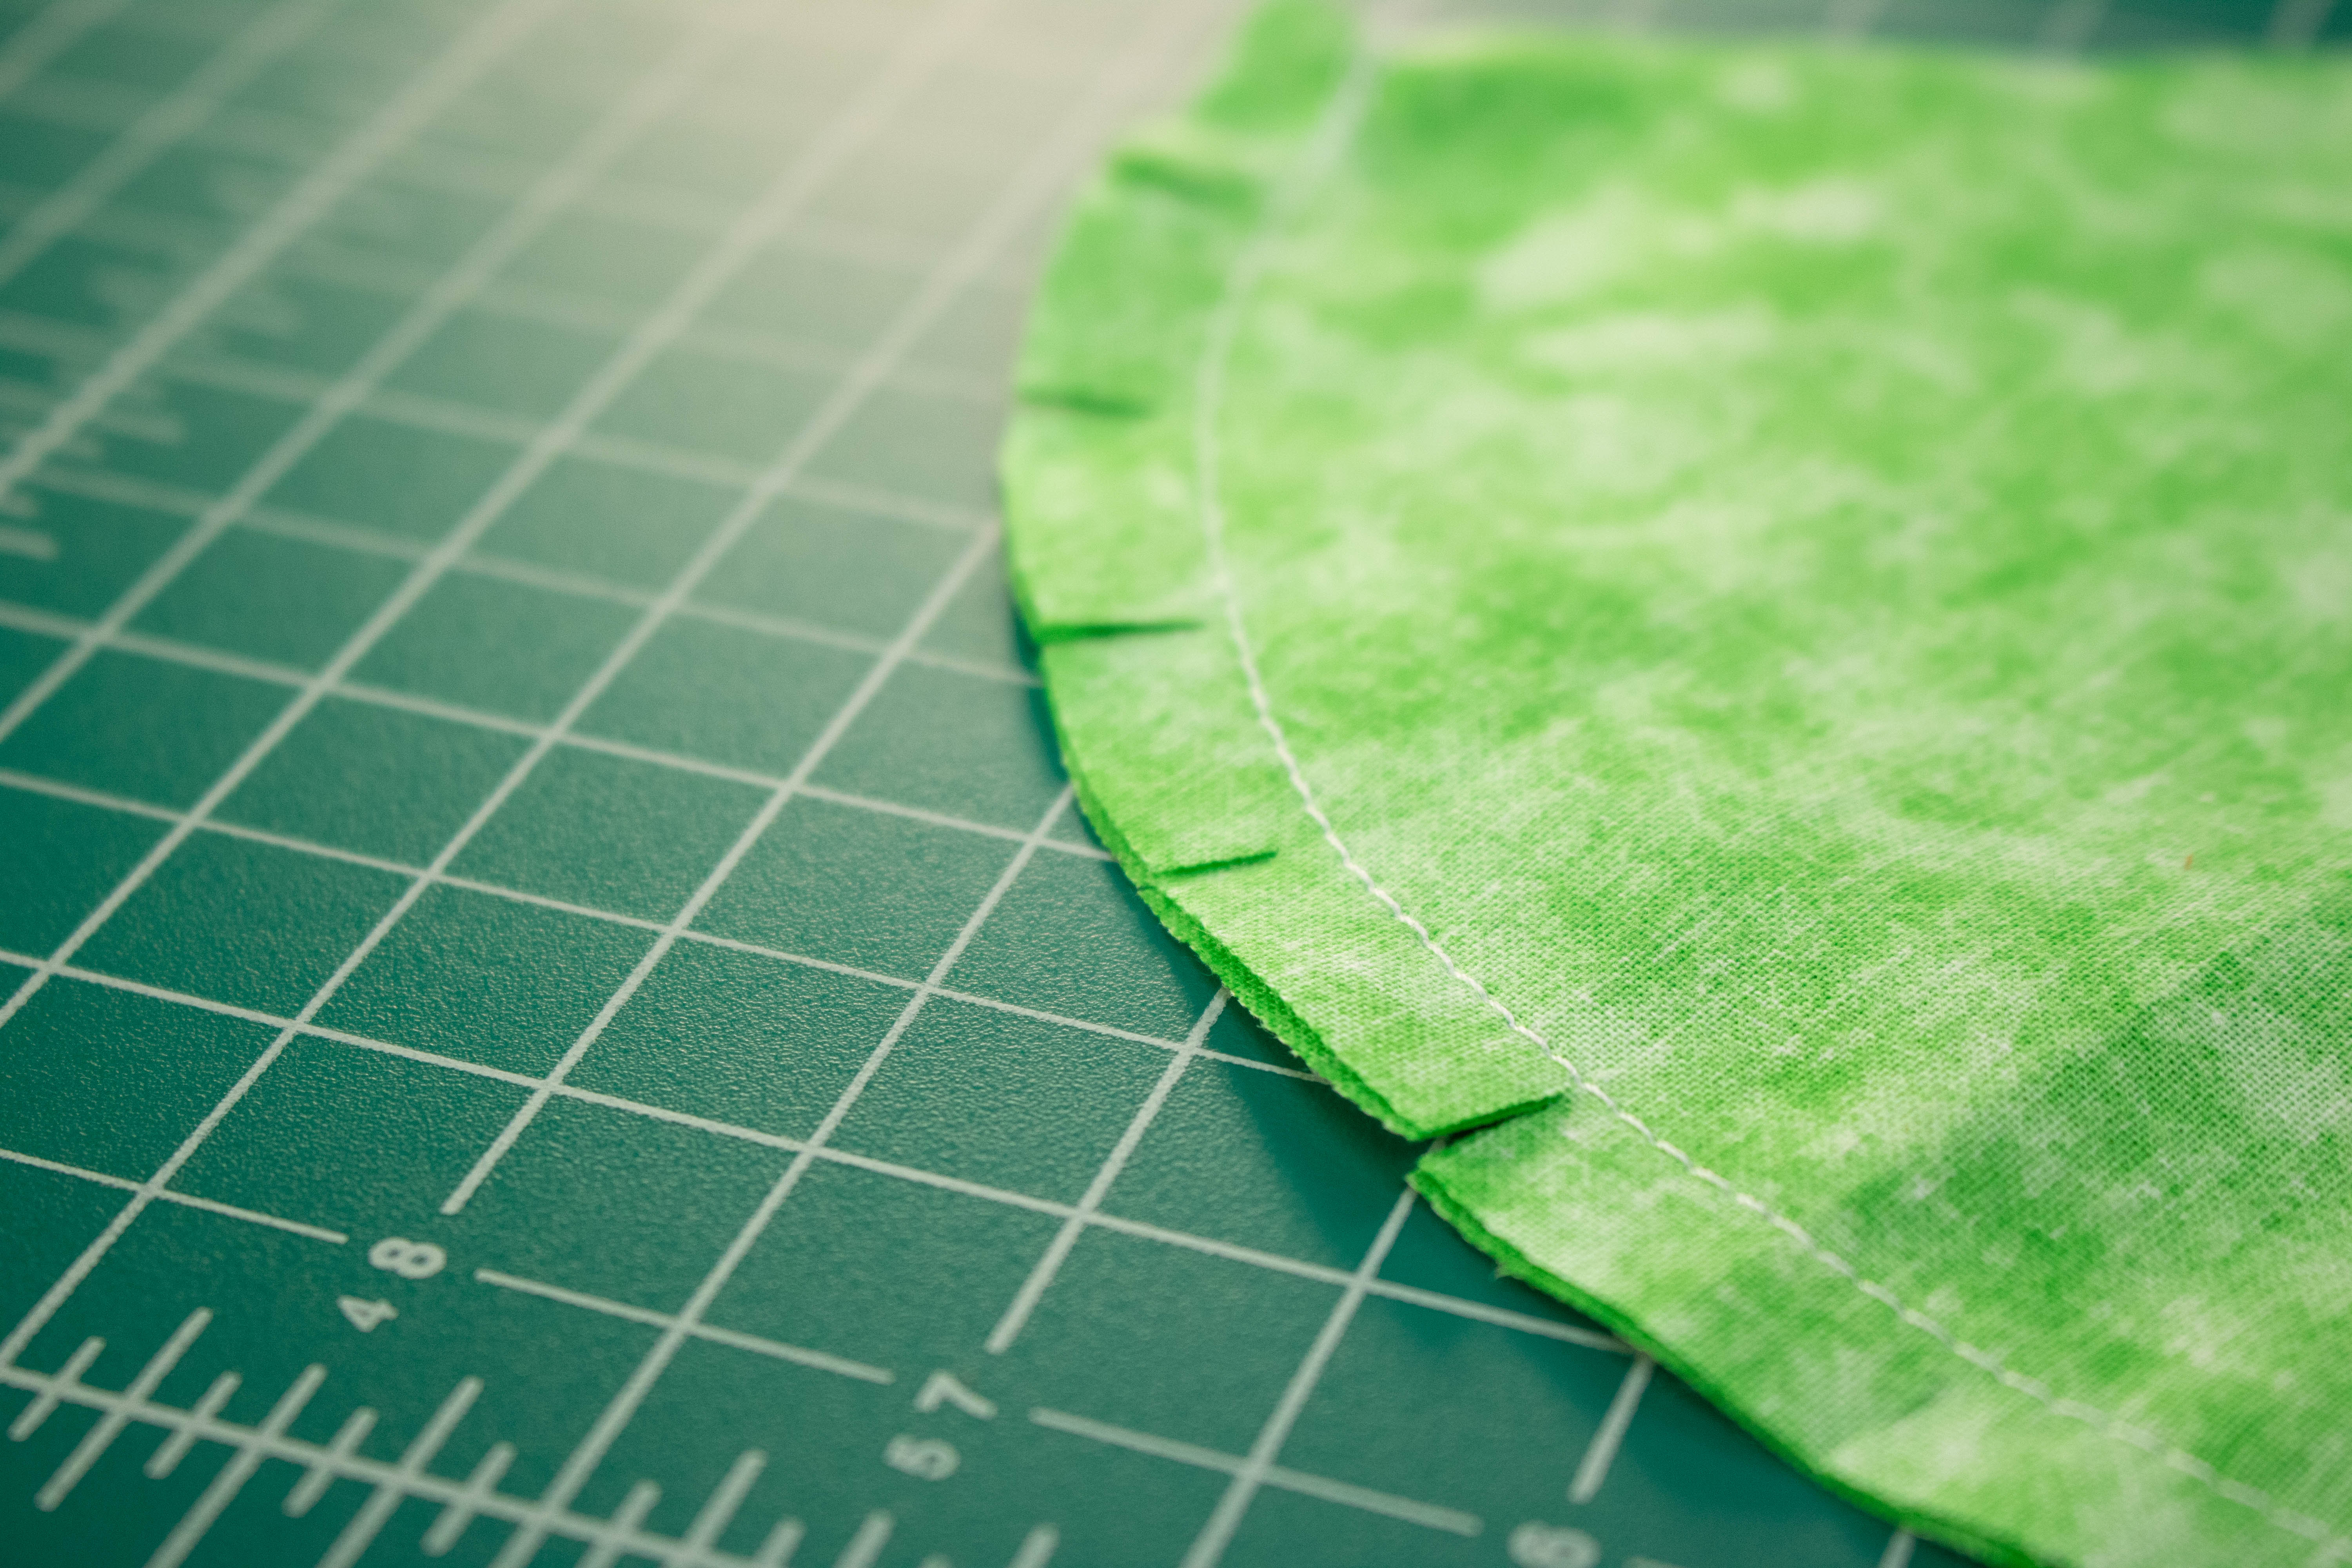
Because this is a curved seam, you will need to make cuts into the hem every inch or so.
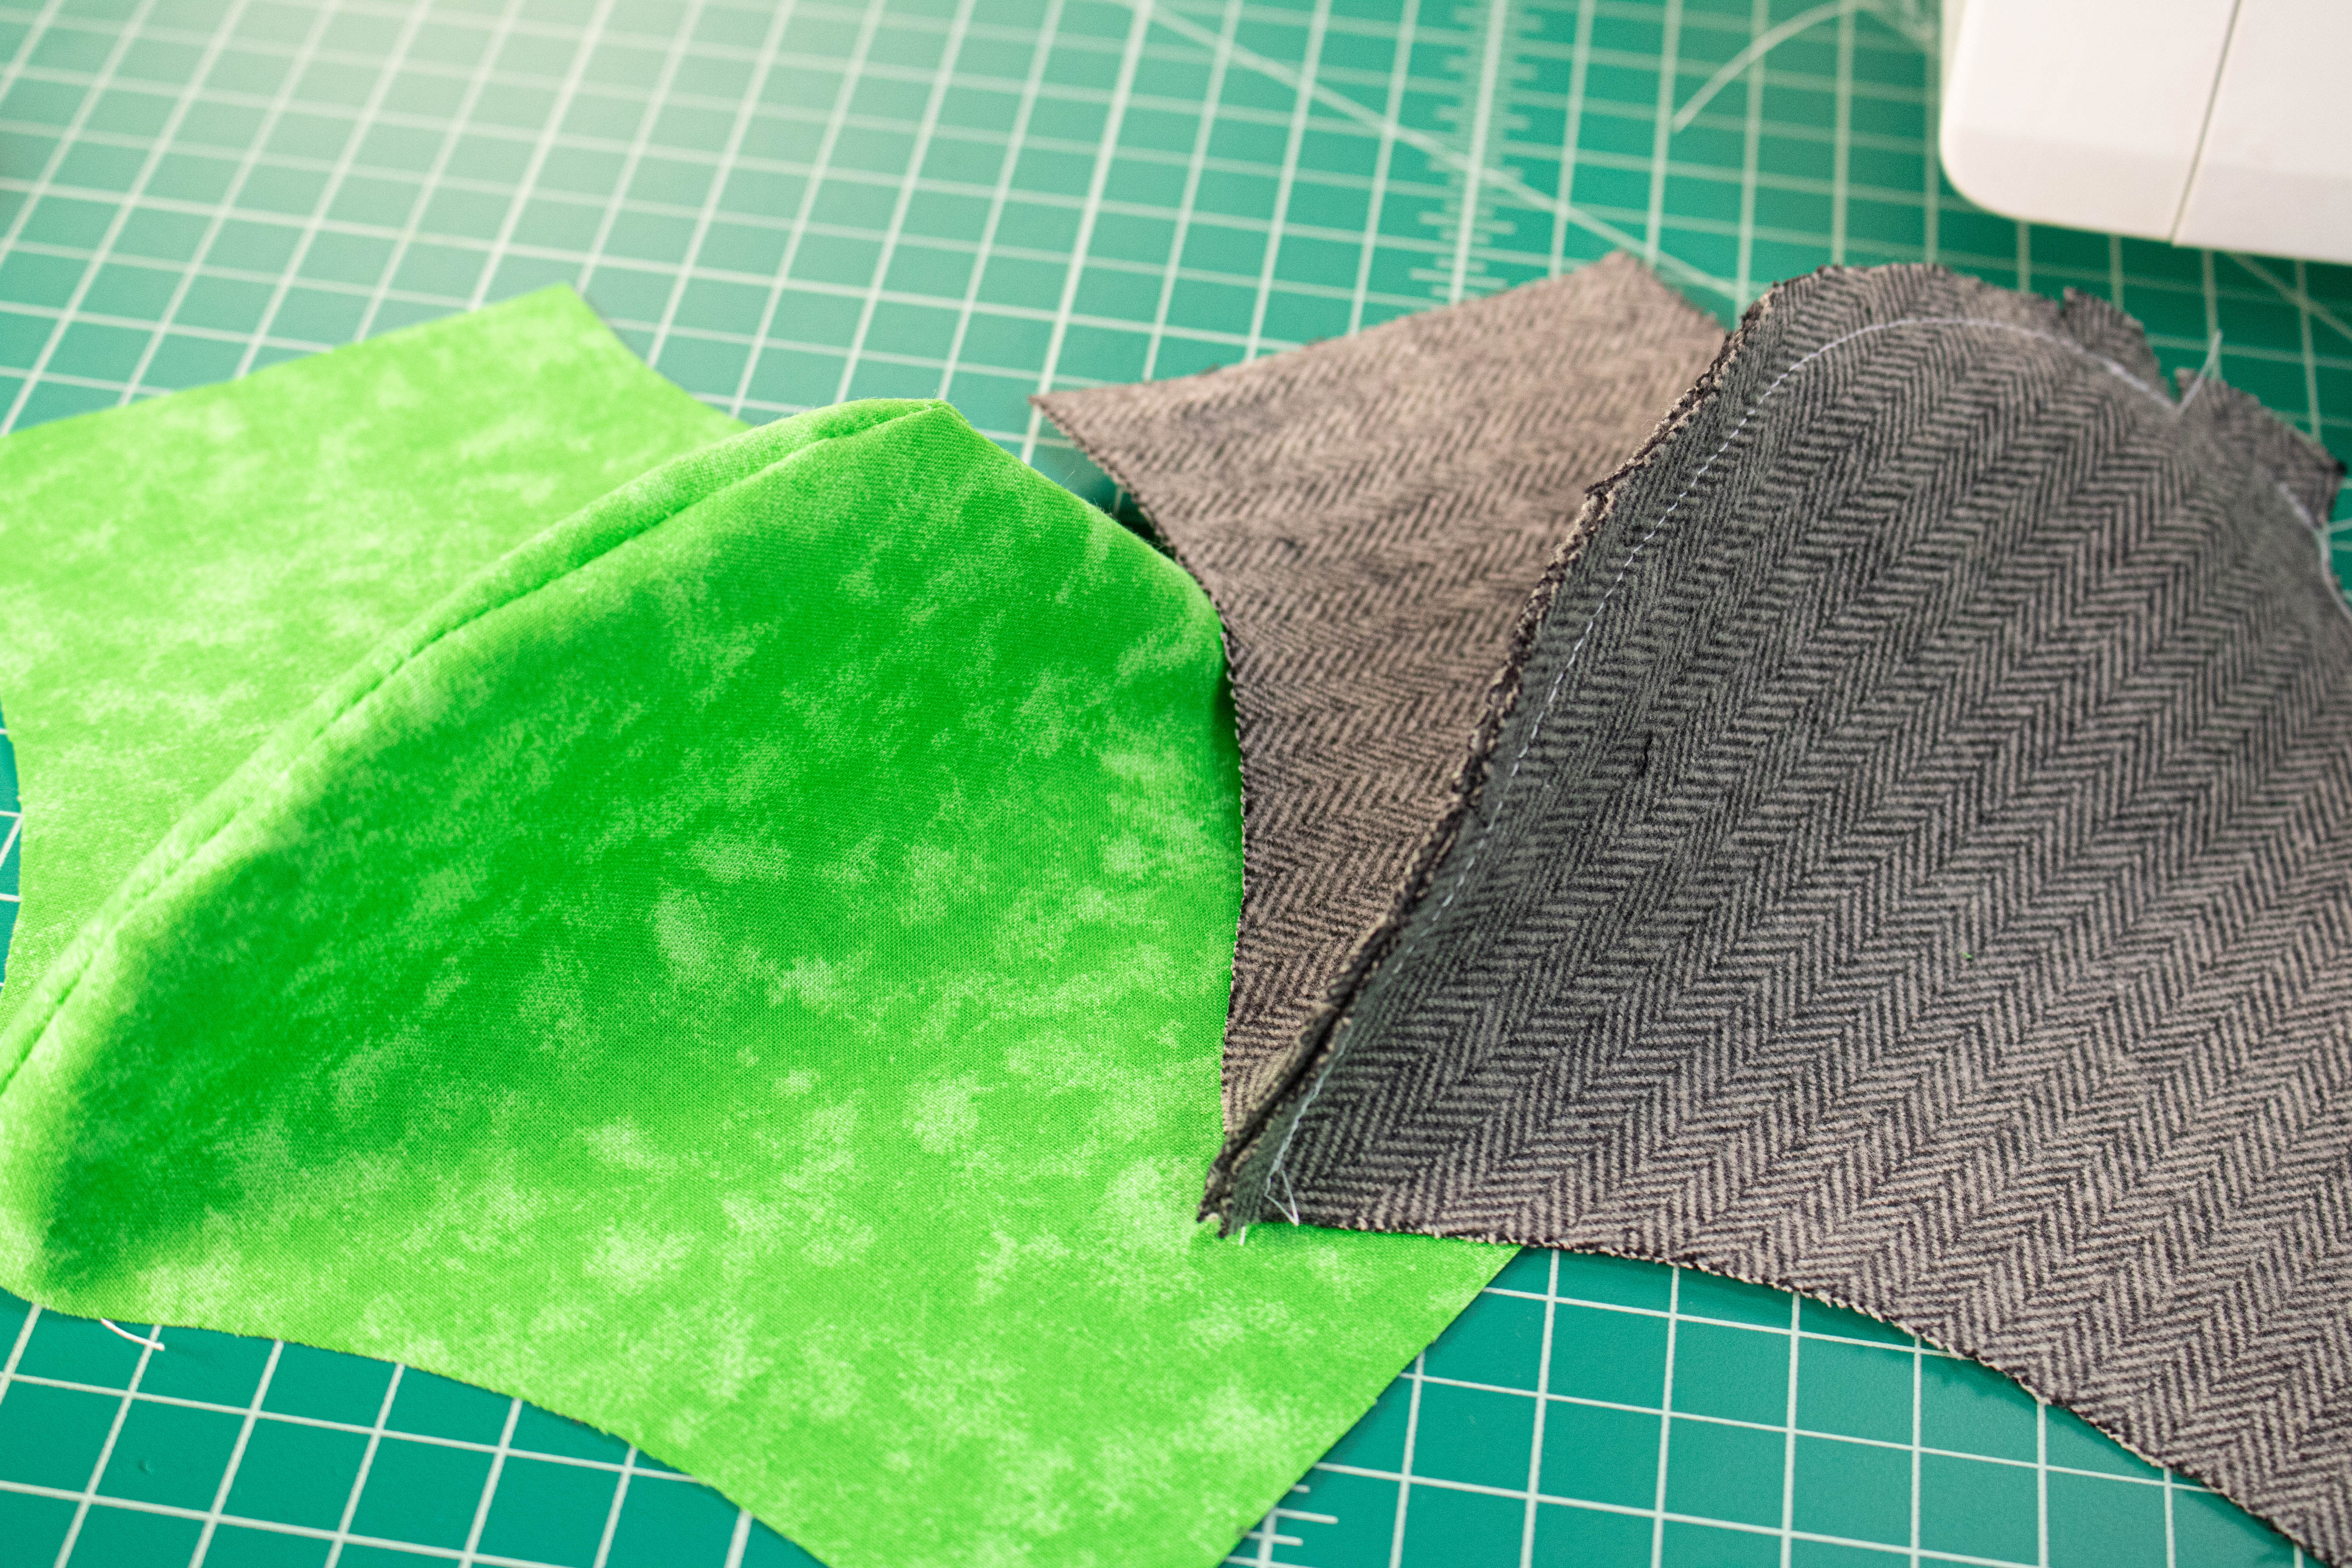
Unfold both materials and turn the cotton right side out, so that the hem is on the inside. Leave the flannel with raw seam out.
Layer the flannel over the cotton and line up the outer edges.

Pin the layers together and sew around the outer edge of the mask. IMPORTANT: leave a gap on one side of the mask through which to turn it right side out. 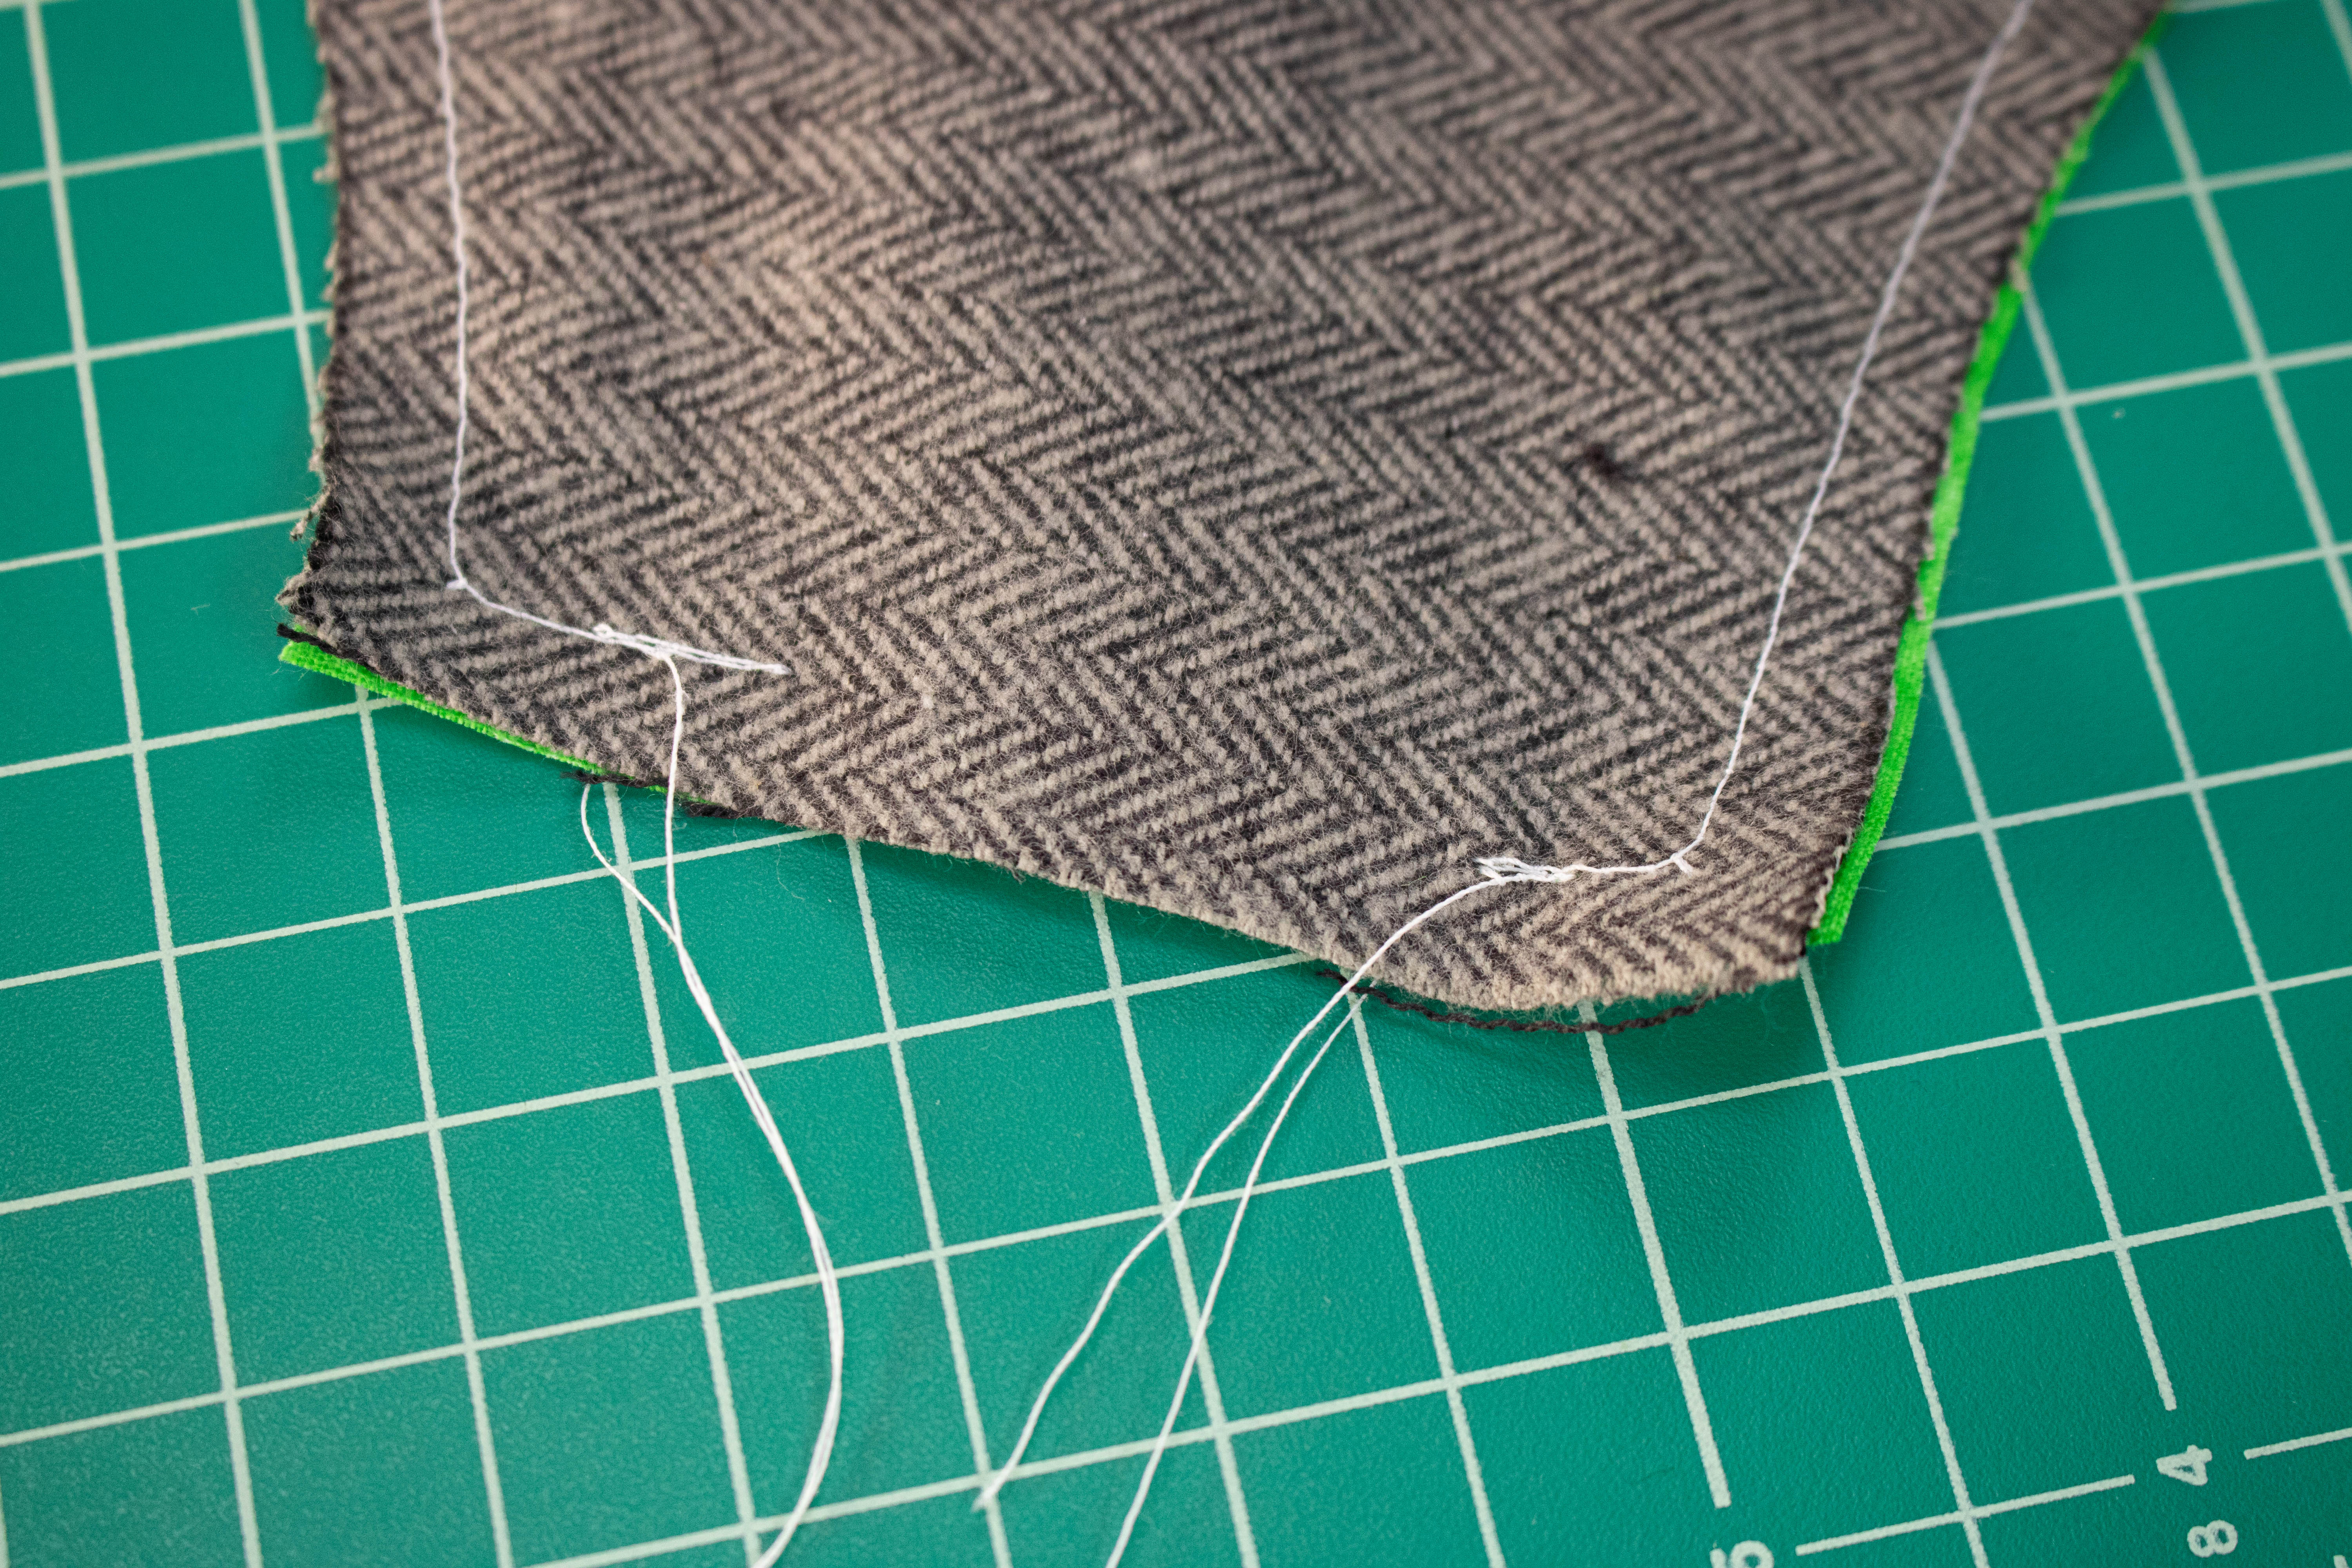
Once done sewing the two materials together, pull the project right side out using the gap mentioned above. You can use a pin to dress the corners. Iron flat.
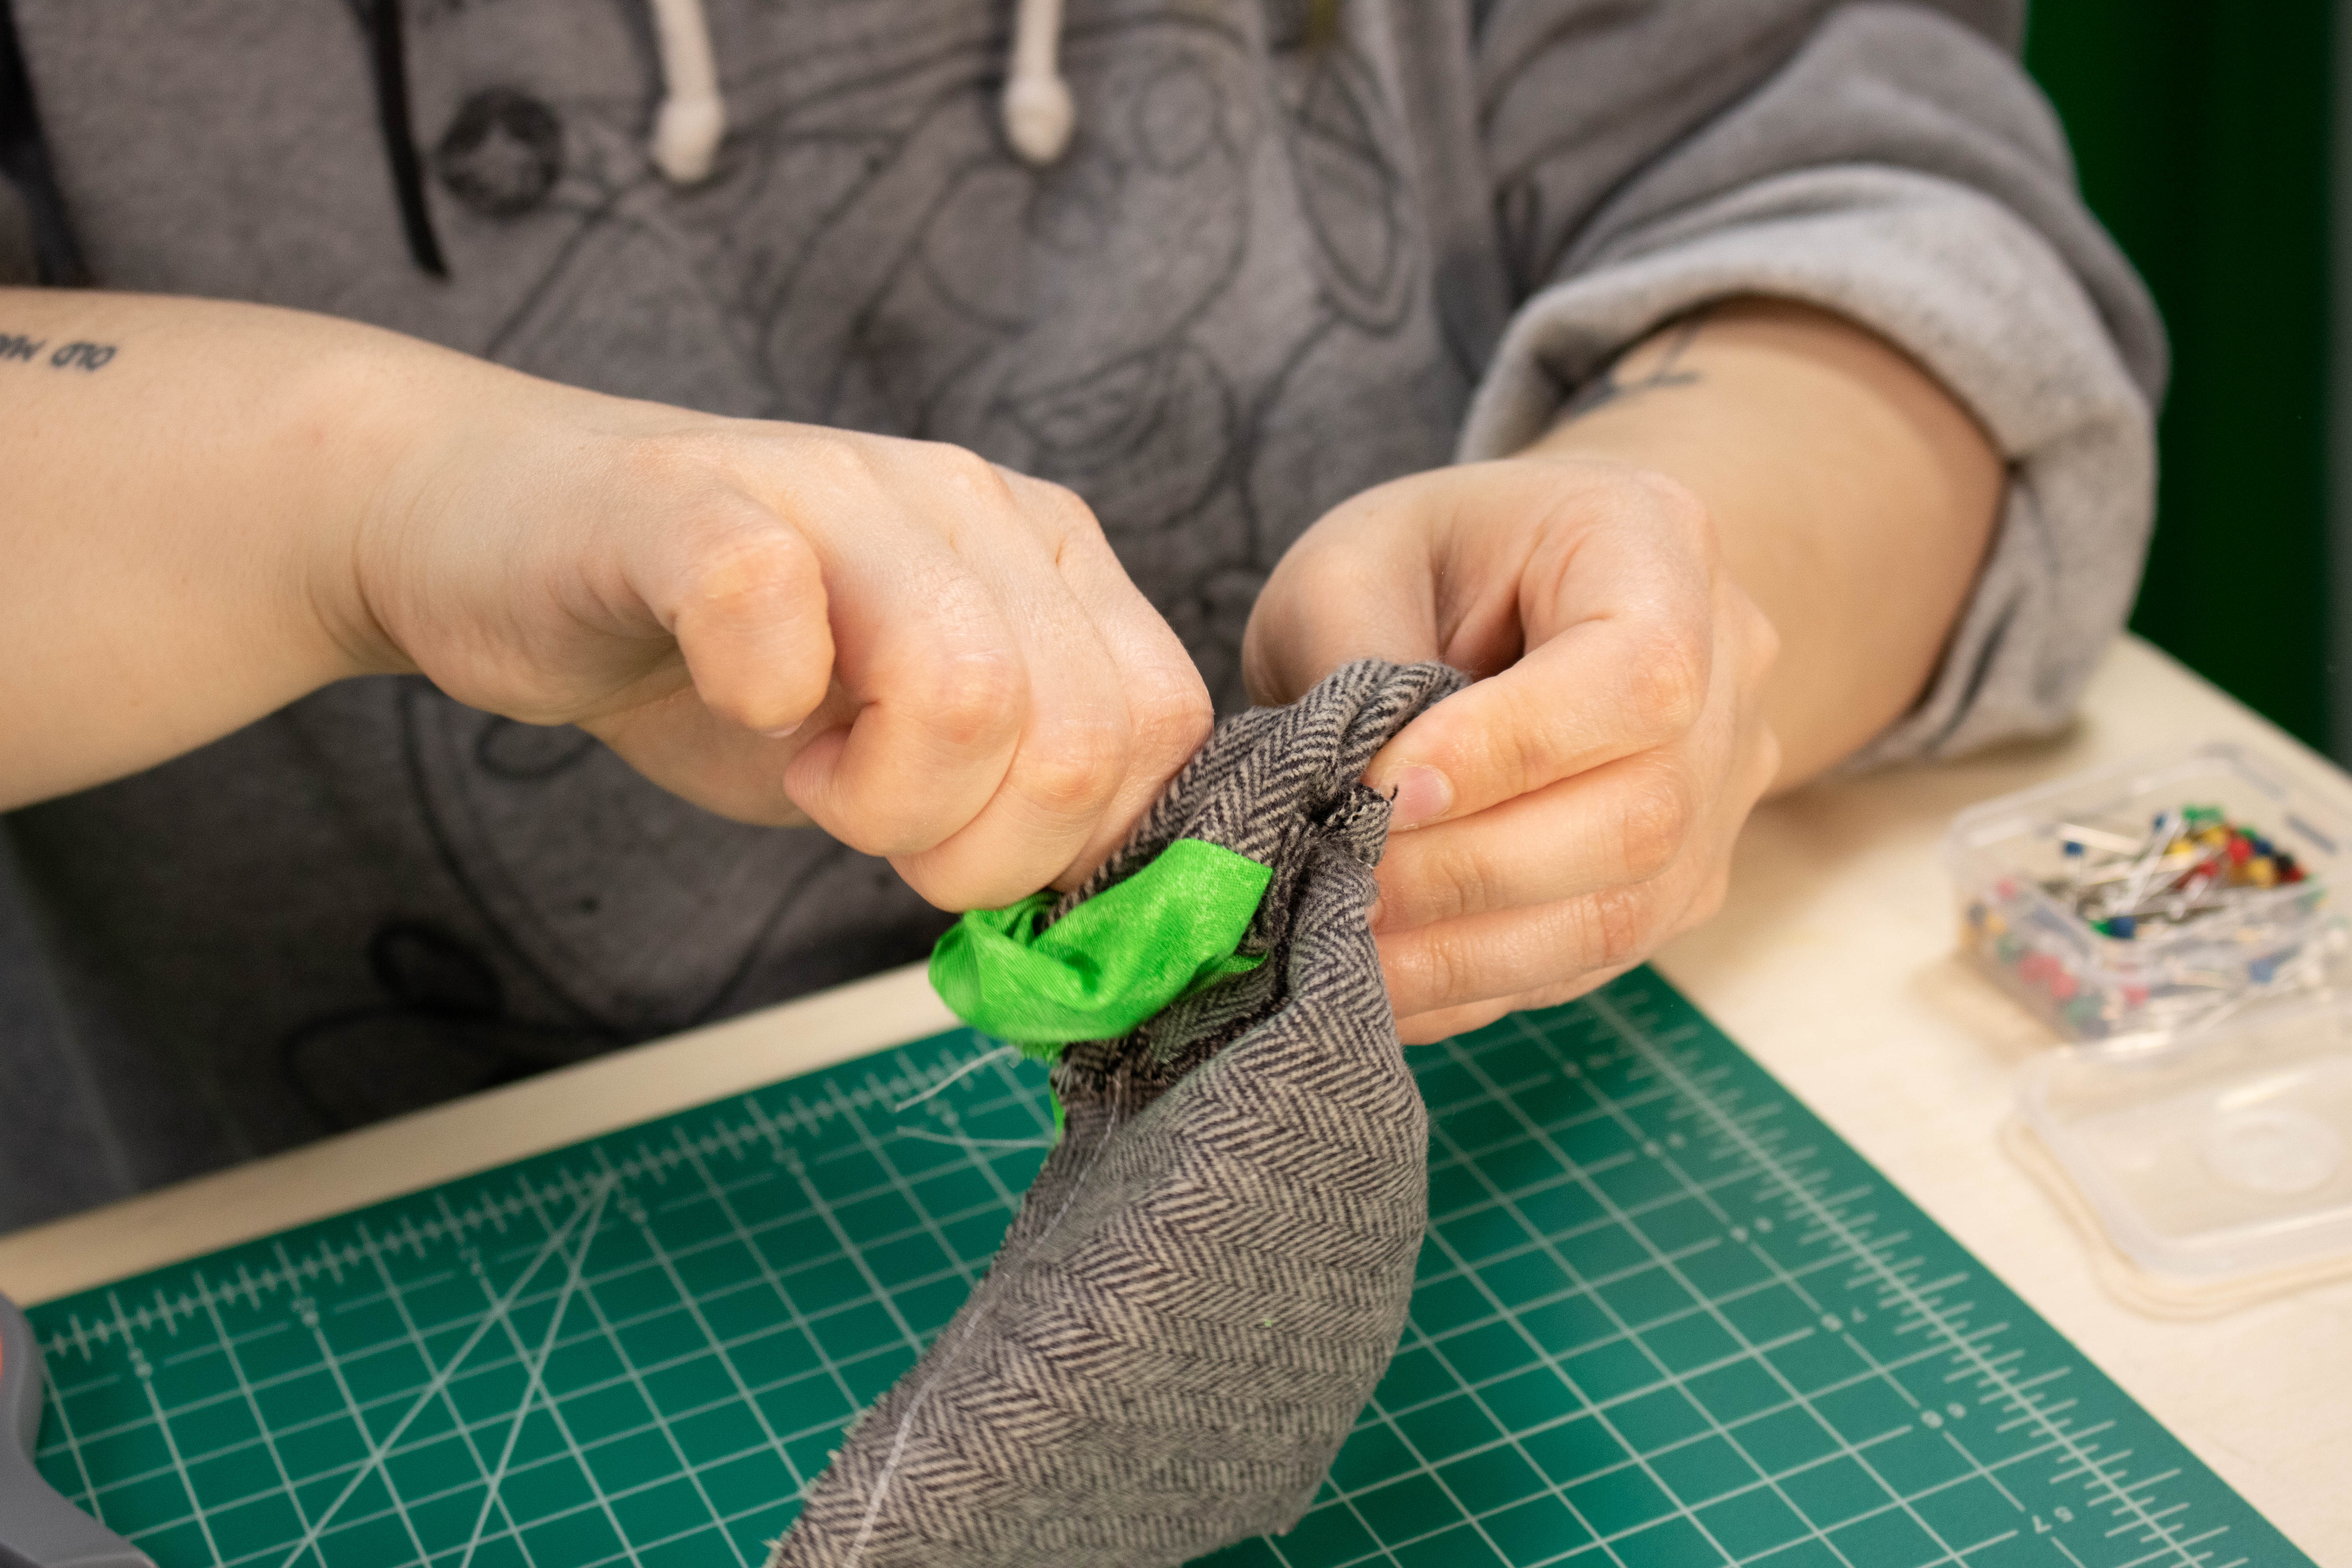
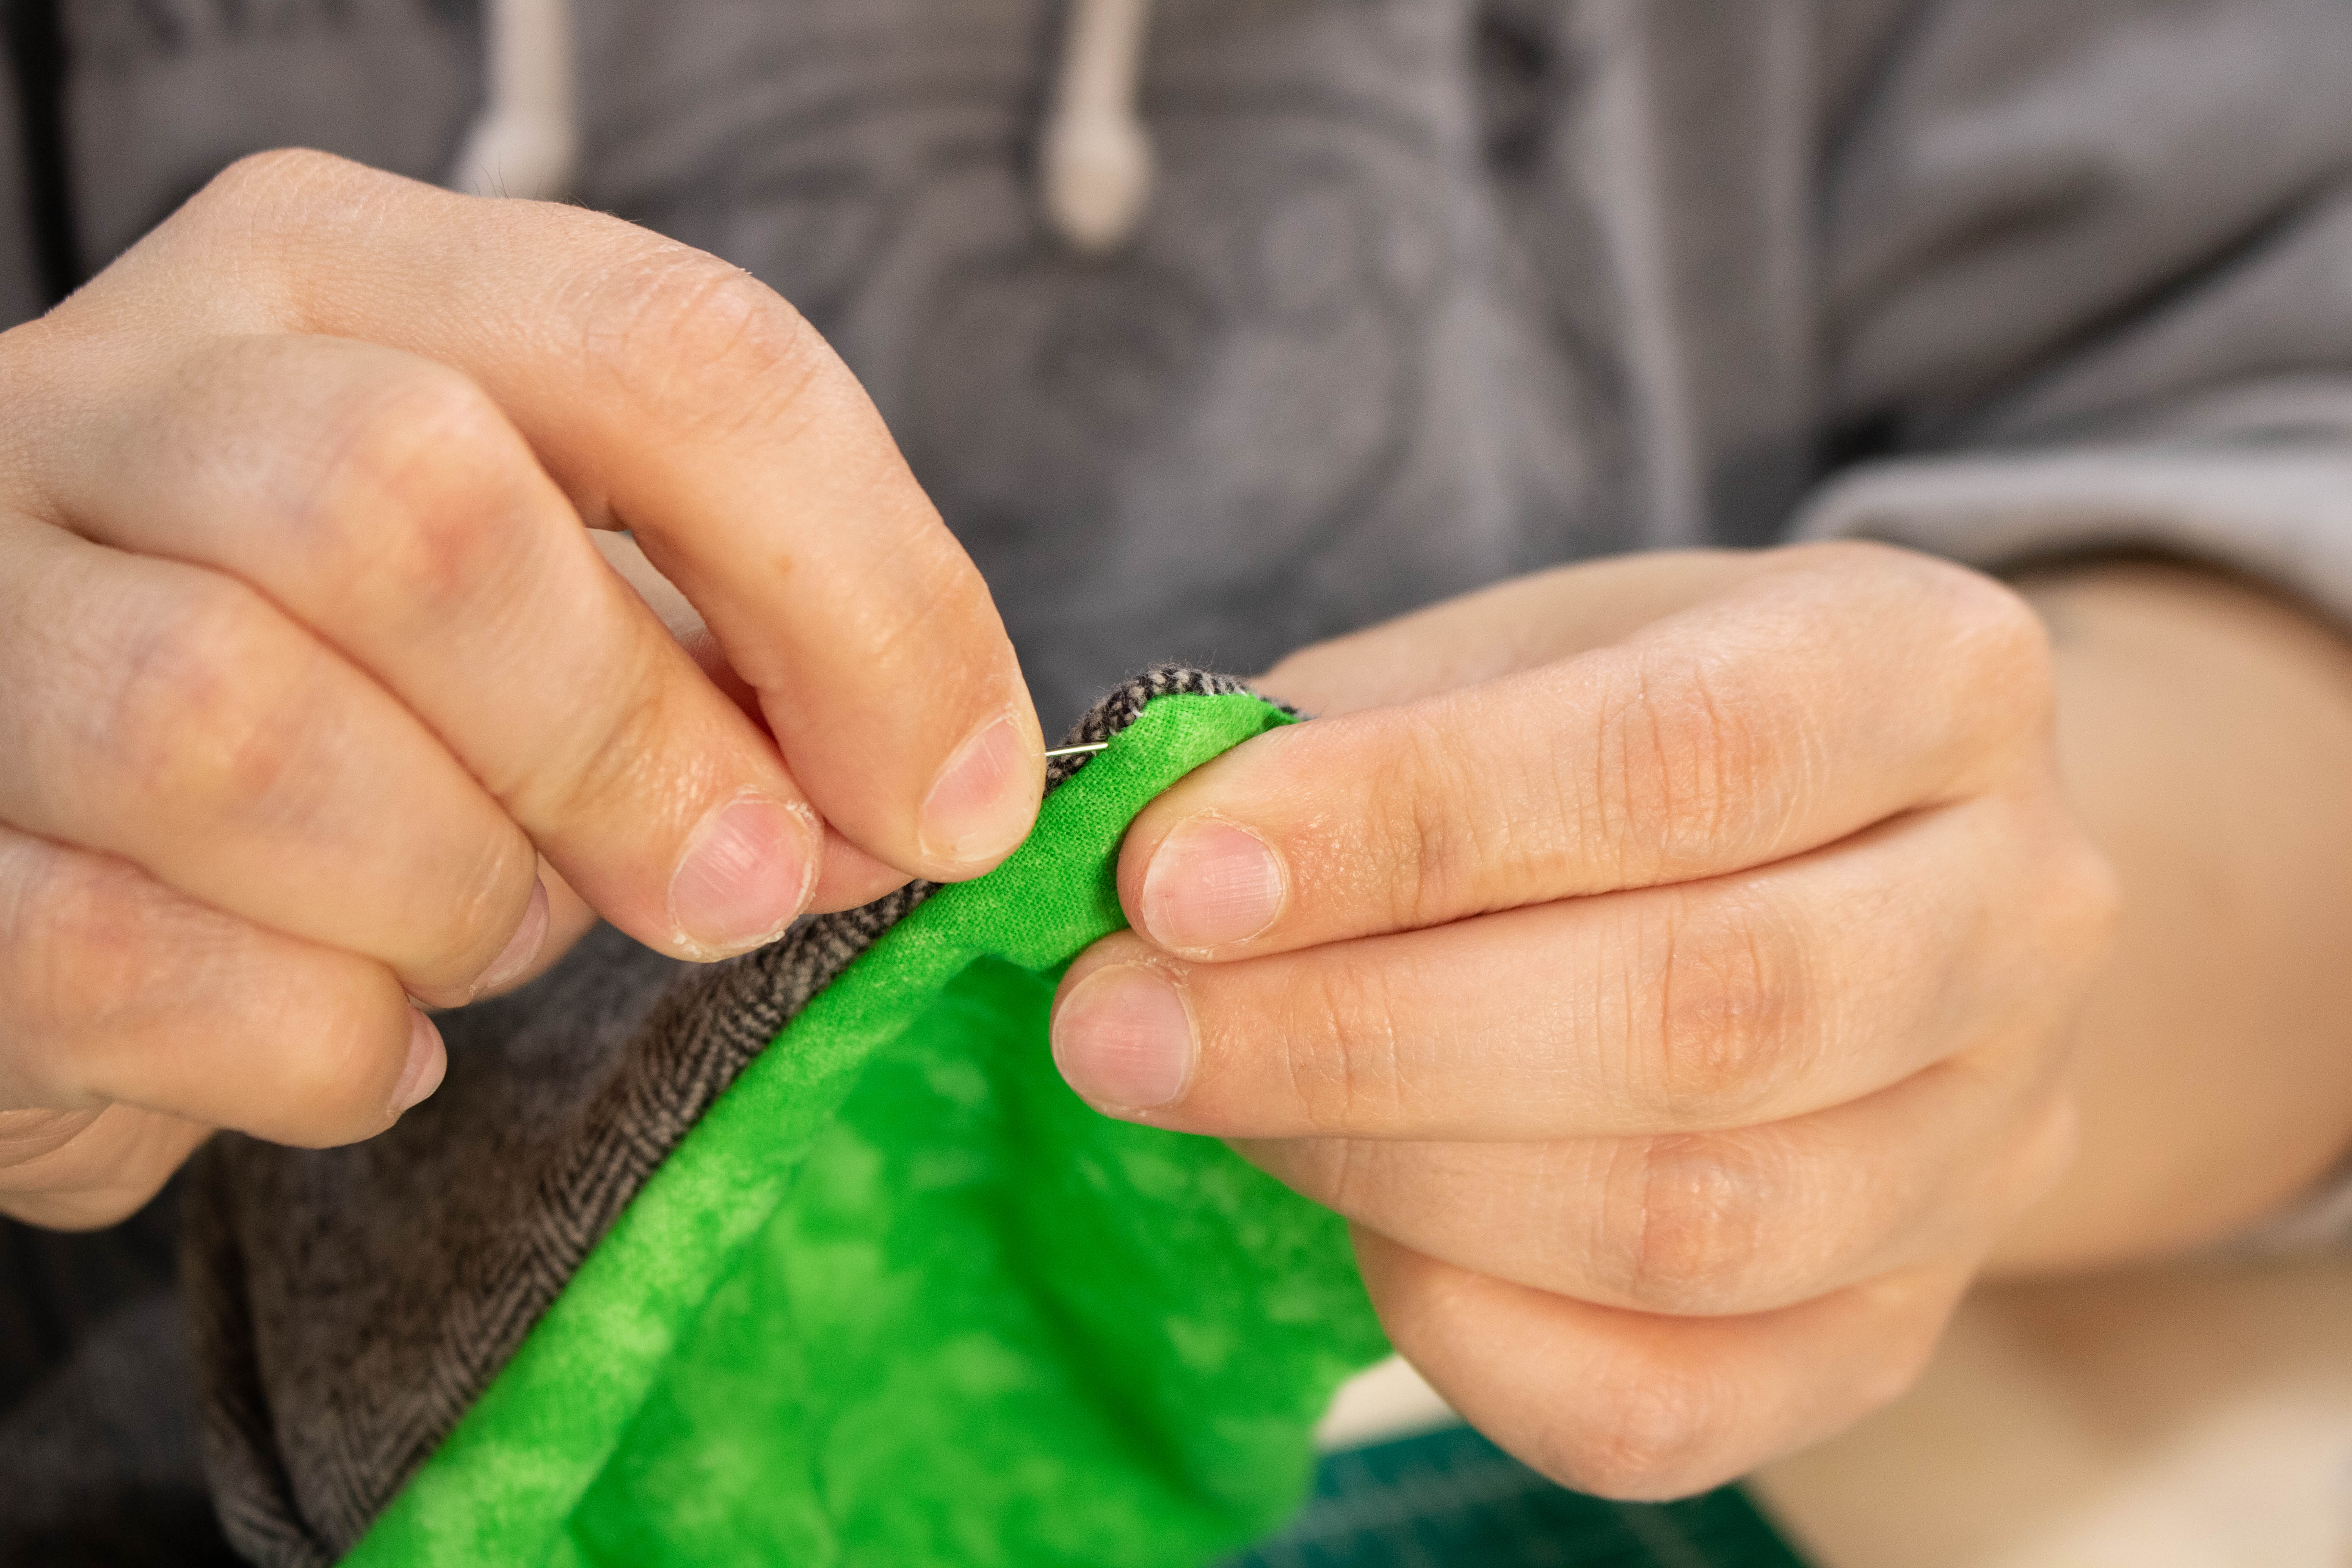
Pin the gap shut with the hem properly folded inside.

Top stitch ¼” around entire edge of the mask. Make sure your stitches grab the folded hem of the pinned gap.

Cut 24” of elastic cord. (Large heads may need 2” more.)

Tie the ends together using an overhand knot or double fisherman’s knot, forming a loop.

Fold over ½” on each side of the mask, with the cord running through. Pin in place.

Top stich ¼” in from the fold. Make sure to not stitch over the elastic cord. The elastic will need to slide freely in order to adjust the mask.

The finished mask should have a looped strap on bottom, and another on top. To wear, loop bottom strap around neck and position the top strap just above ears, wrapping behind the head.


